Measurement of Aluminum Castings (Slabs) before Milling
Initial Situation:
In the course of production, aluminum slabs after casting have to be milled to the desired dimensions (scalped). As the final product is expected to be even, they have to be measured to find the deepest point, before starting the process. Until now, the inspection took place as follows: After each milling sequence, the presence of defects was checked manually by tactile equipment and in case of need, the process had to be repeated. This method is not only time-consuming, but often produces also too much scrap.
Particular Challenges of the Application
By tactile equipment, determination of the deepest point on a rough metal surface is neither simple or precise. As a consequence, often either too much material is removed, or the surface is still covered with defects which have to be eliminated by a following milling cycle. An additional drawback: Excessive manual advancing of the milling head may give rise to damage of the tool.
QuellTech Solution:
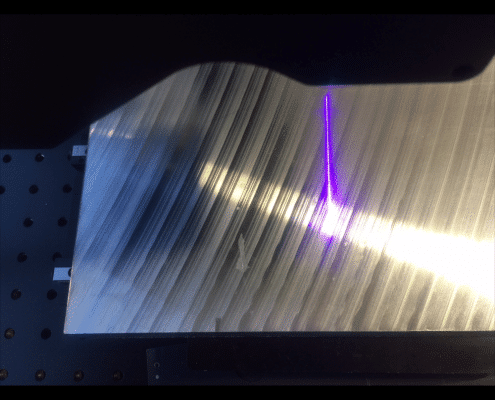
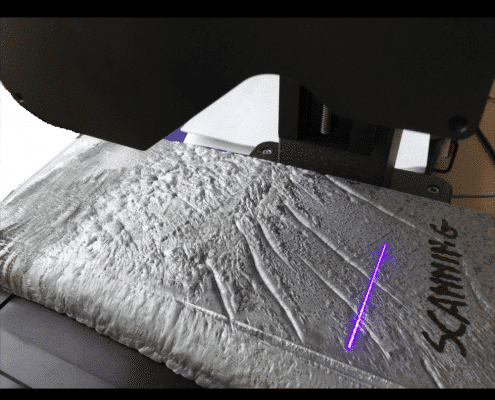
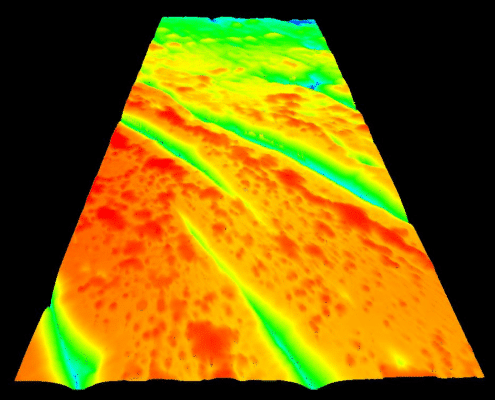
QuellTech has solved the problem by a configuration of three to four laser triangulation sensors with a large measuring range. The equipment is arranged in parallel, so that the complete width of the slabs is covered. The sensors are calibrated to a common coordinate system and mounted on a movable gantry. Before measurement, the slabs are fixed in place. The scanners mounted on the gantry are guided over the measuring object, driven by an electric motor. The point cloud recorded by the four scanners is consolidated in a PC by means of the QuellTech image processing software which calculates the difference between highest and lowest point of the corresponding surface and compensates for possible inclination of the slab (detrending). Characteristic data of the surface are transmitted to the control of the milling machine which correspondingly determines the optimum feed motion and the minimum number of milling cycles.
Benefits for the Client:
The large area QuellTech 2D-3D laser scanners enable the cycle times for the milling procedure considerably to be reduced, meanwhile minimizing production of scrap. Simultaneously -as a consequence of the shortened cycle times- the lifetime of tools could be extended.
You are currently viewing a placeholder content from Facebook. To access the actual content, click the button below. Please note that doing so will share data with third-party providers.
More Information
